
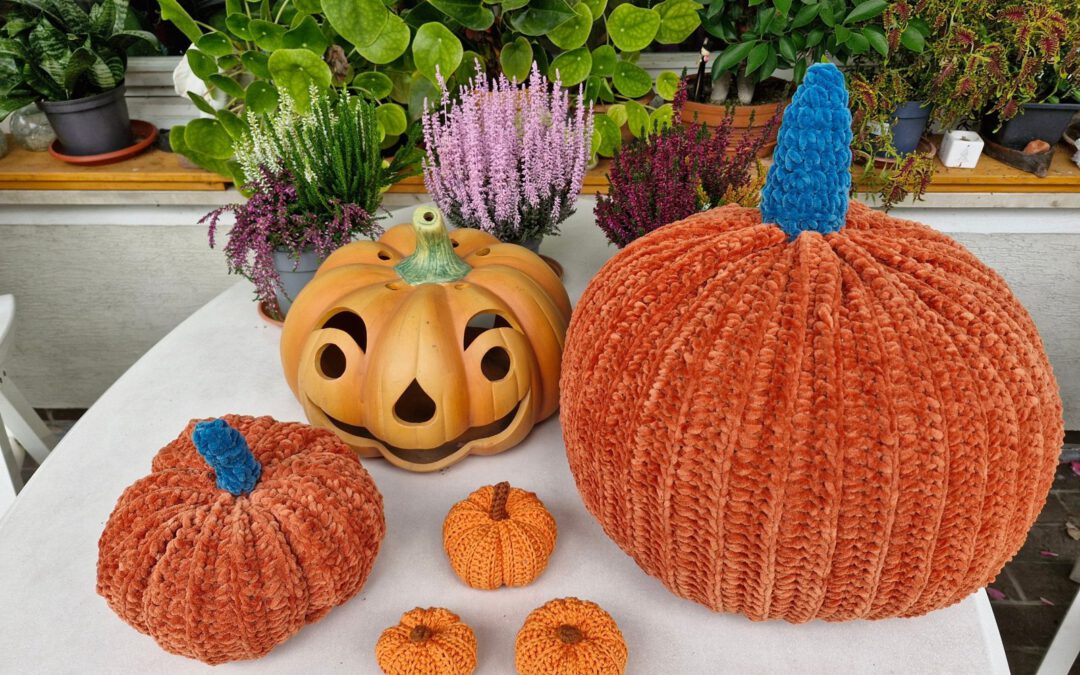
A pumpkin made from a rectangle?
Yes, really. My Happy Pumpkins are the easiest way I know to bring cozy autumn decoration into your home – and the pattern is free.
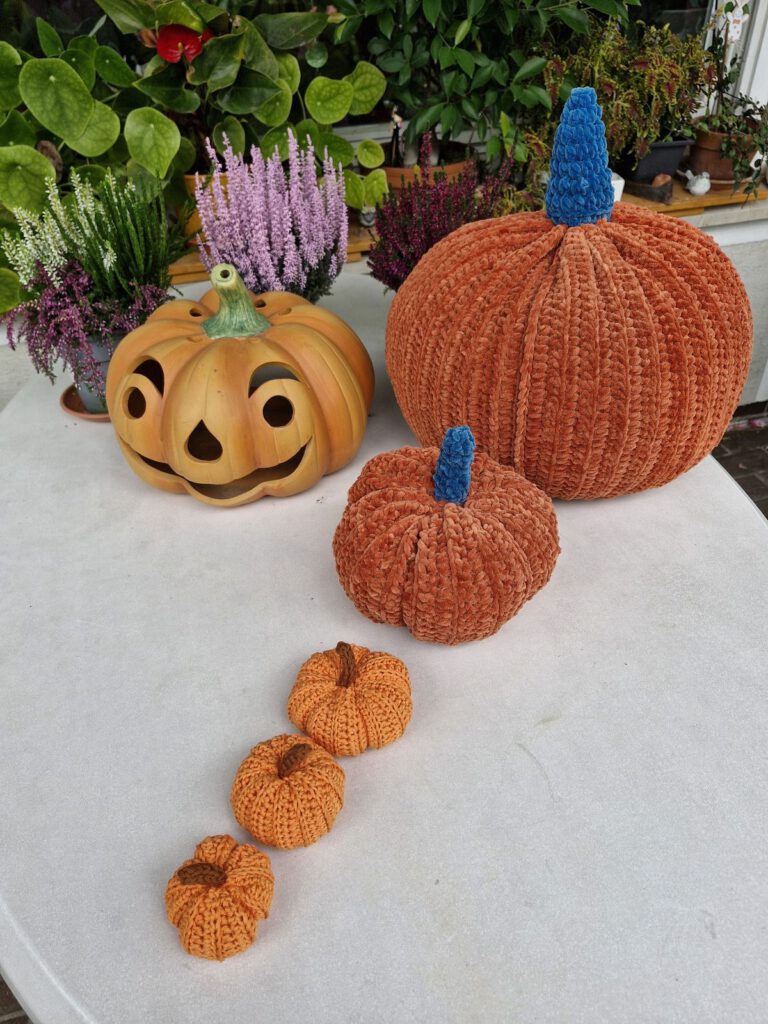
Why I call them Happy Pumpkins
Autumn is the season for candles, warm colors and a cozy home – and crochet pumpkins are the perfect decoration for it. Happy Pumpkins start as one simple rectangle and end as cheerful autumn decoration you will want to make again and again. 🎃
They grow in front of your eyes while you crochet: a flat piece of fabric, a seam, a little stuffing, a stem – and suddenly there is a pumpkin in your hands. That is the moment that makes me smile every time, and it is why I named them Happy Pumpkins.
You do not need any special techniques, only a few basic stitches and a little patience when you stuff them. Whether you are crocheting your very first project or you simply want a relaxing autumn project, this free crochet pumpkin pattern is made for you.
Free crochet pumpkin pattern: how a rectangle becomes a pumpkin
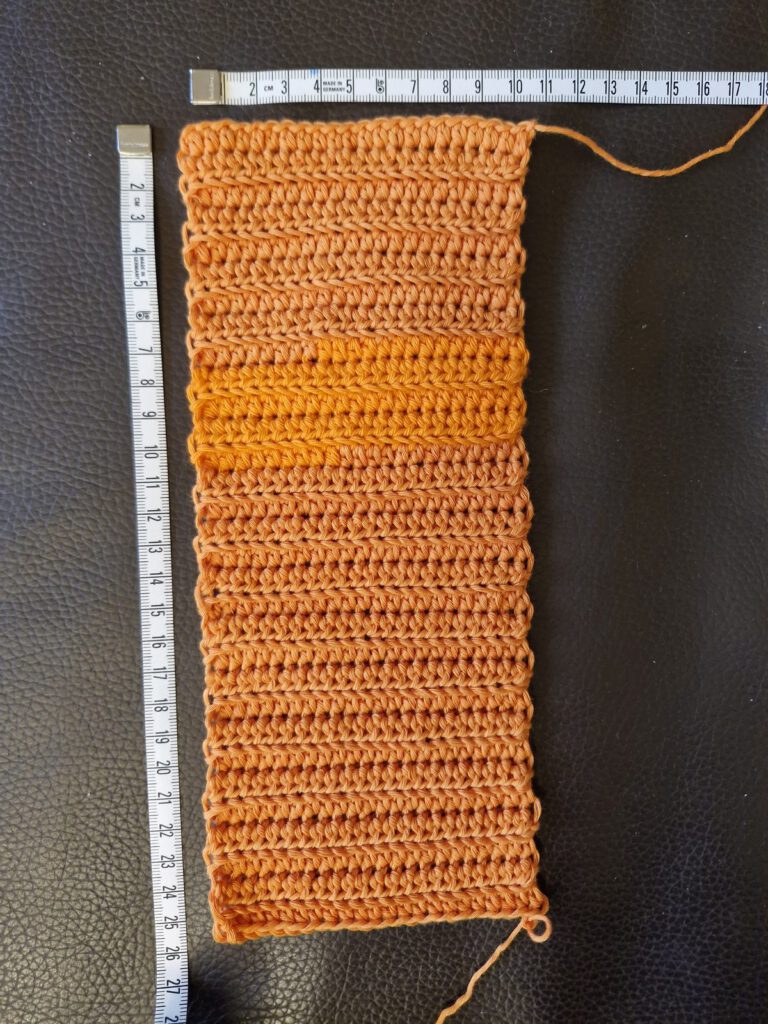
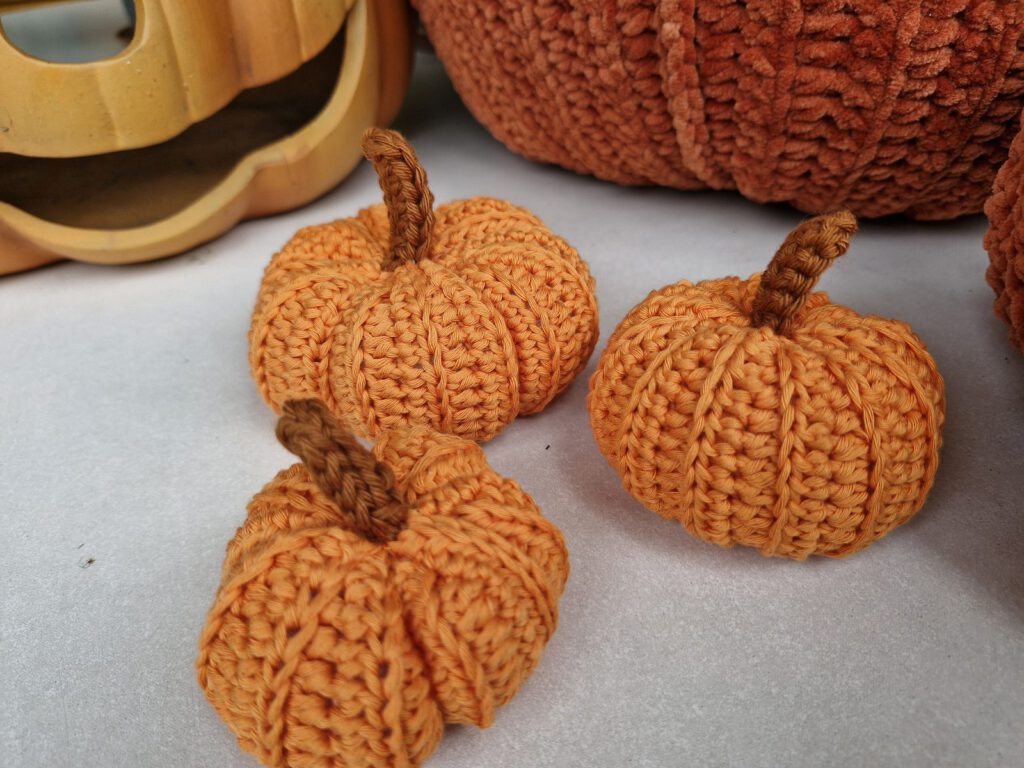
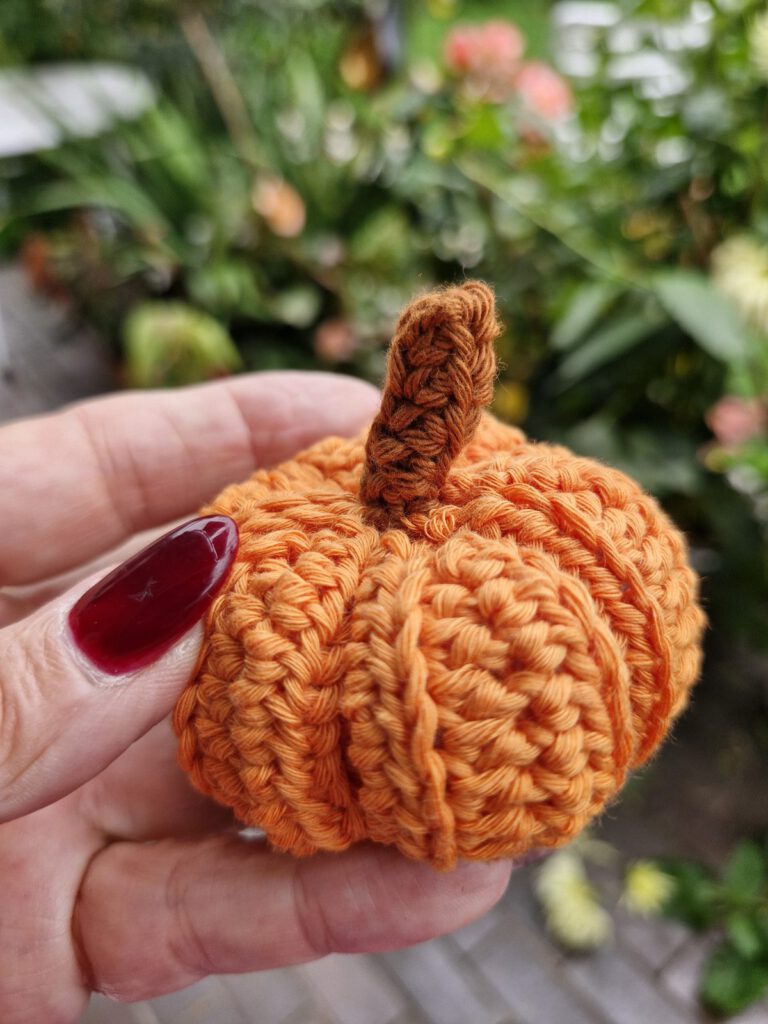
Every Happy Pumpkin is crocheted in rows of half double crochet in the back loop only. After the last row you fold the rectangle, join the first and the last row with a slip stitch seam, pull one end tight with the yarn tail seamed into one loop of each row, stuff the pumpkin and close the other end the same way. The ribs of the pumpkin come from the back loops. Add a little stem, and you are done.
There are no increases in the body and no 3D shaping, which makes this free crochet pumpkin pattern perfect for beginners.
Why you will love this pattern
• One simple rectangle: no increases in the body and no 3D shaping
• Perfect for beginners: half double crochet in the back loop, a slip stitch seam and a few basic stitches are all you need
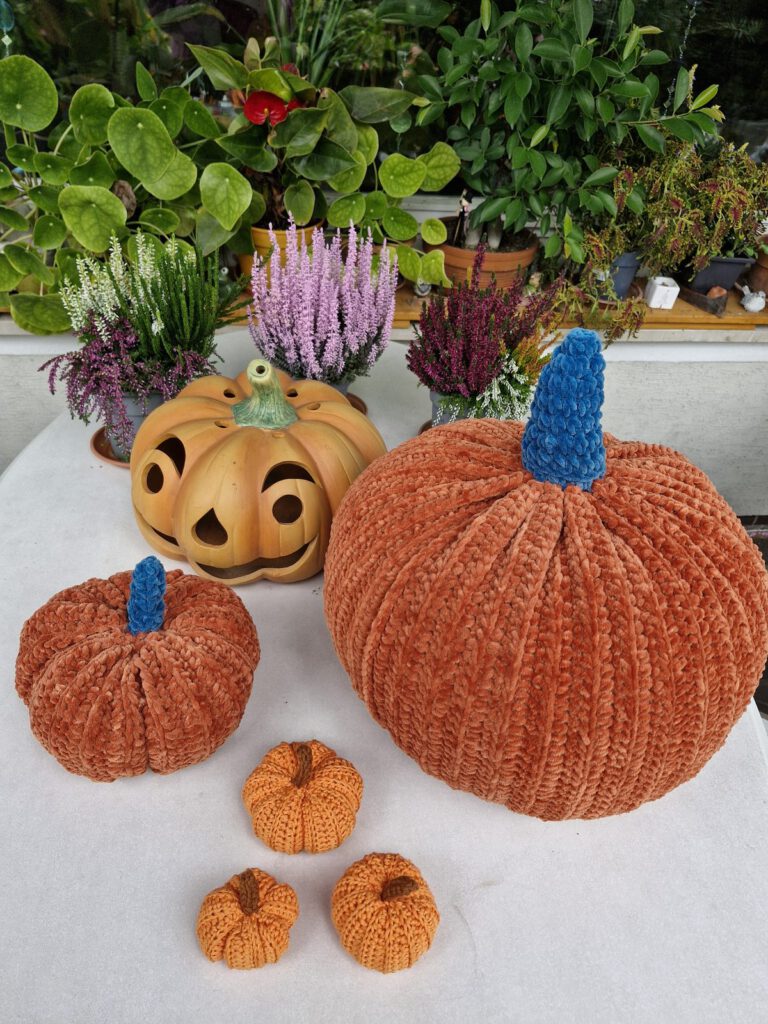
• Four sizes in one pattern, from a tiny table decoration to the XL Big Guy
• A photo tutorial that shows the stitches, the stuffing and the seaming
• Stems for every size, including the XL stem • A free PDF in English (US terms) – the German version is available too
Four sizes, one pattern
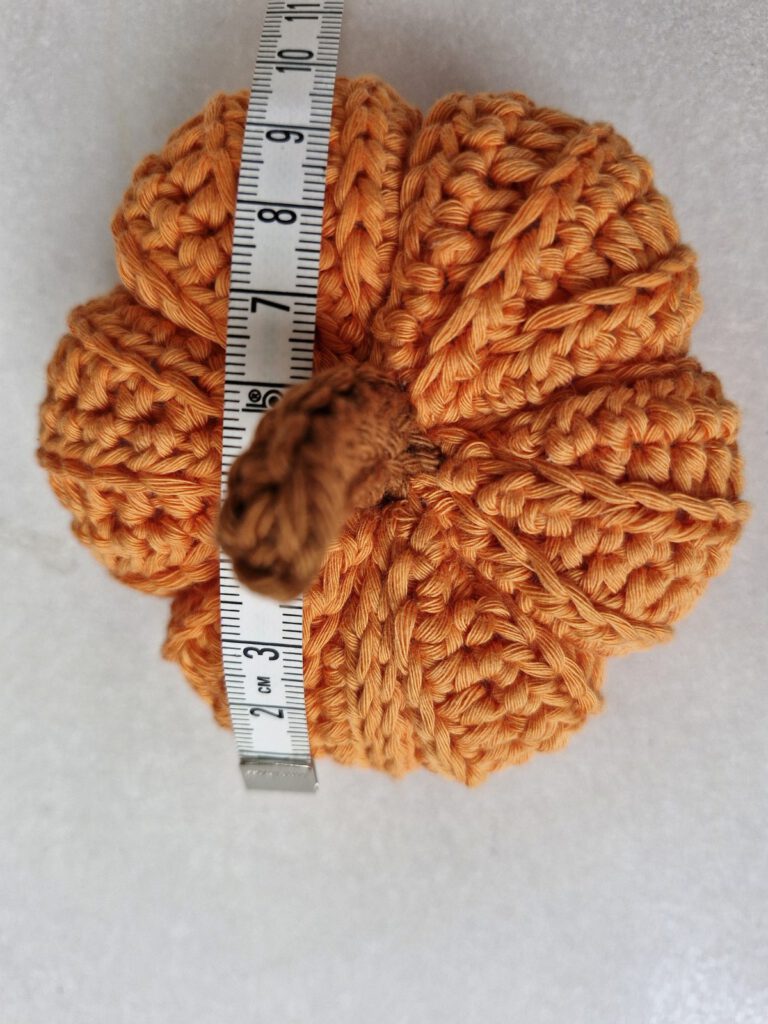
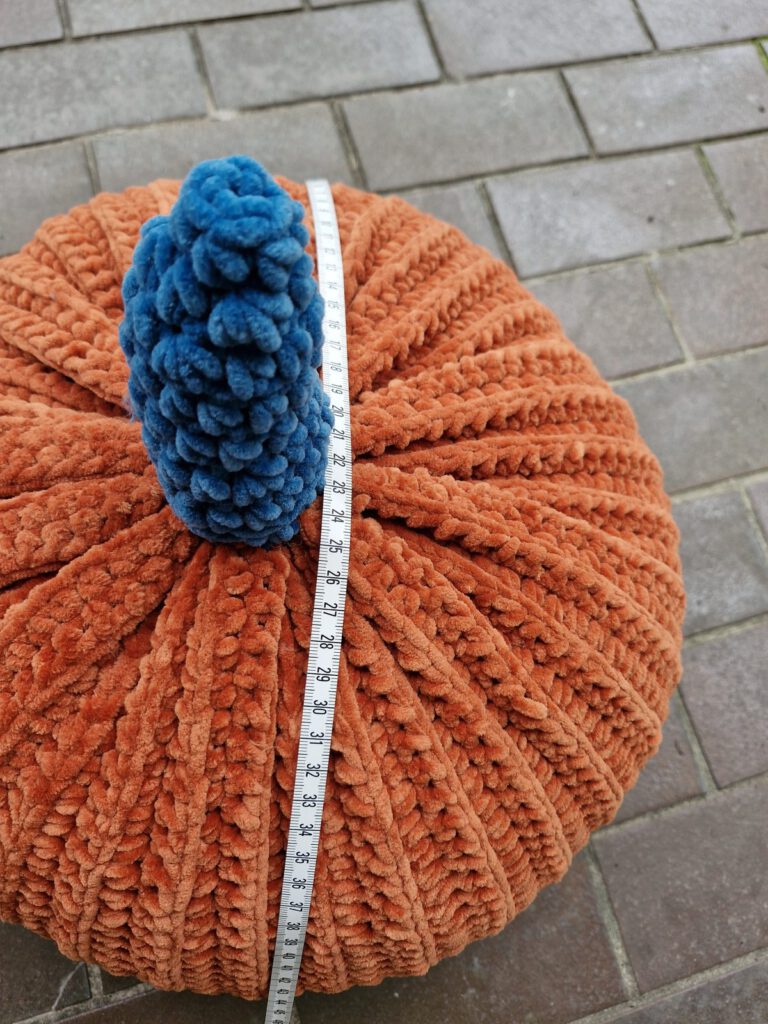
You can make a small pumpkin (about 6 cm / 2⅜ in), a middle one (about 8 cm / 3⅛ in), a large one (about 17 cm / 6¾ in) or the XL Big Guy (about 31 cm / 12¼ in). The size table in the pattern tells you the starting chain, the number of stitches and rows and how much yarn you need. You can also change the numbers freely: more stitches make the pumpkin taller, more rows make it wider.
What you will find in the pattern
The Happy Pumpkins pattern is a 10-page PDF. Everything is explained step by step, with clear photos next to the instructions, so you never have to guess what comes next. Inside you will find:
• A size table with the starting chain, the number of stitches and rows, the size of the rectangle and the amount of yarn for every pumpkin
• Step-by-step instructions with photos for the rectangle, the seam, the stuffing and closing both ends
• The stems for all four sizes
• A list of materials with the yarn and hook size for the big and the small pumpkins All stitches are written in US crochet terms, and special stitches are explained.
Which yarn should you use?
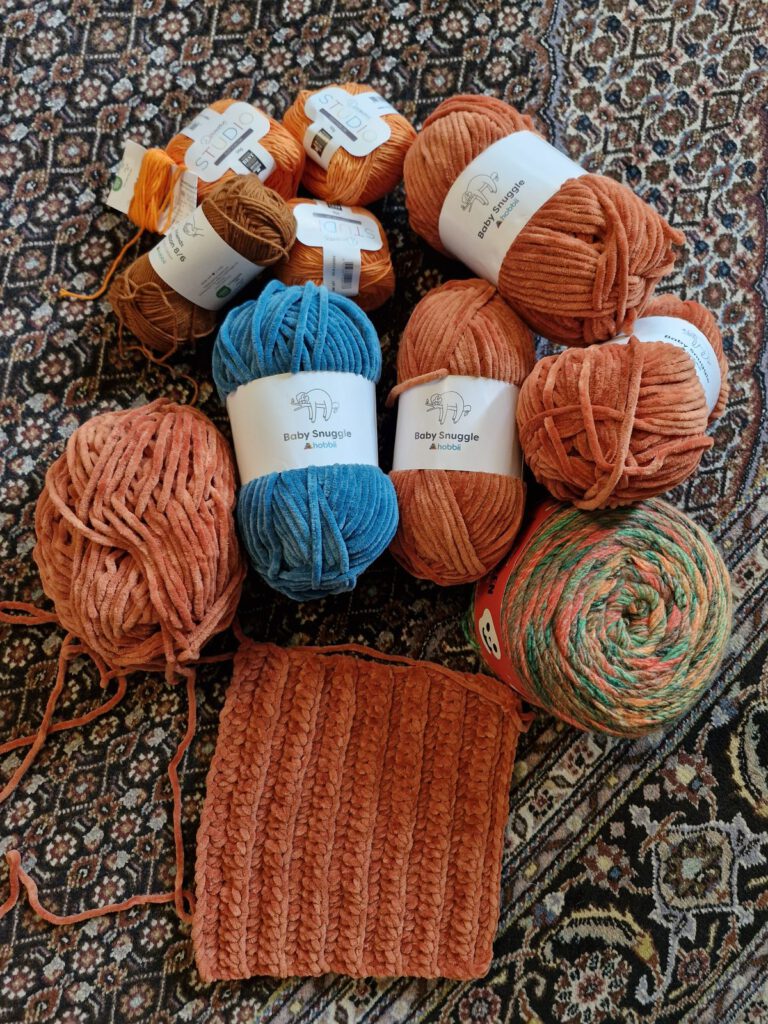
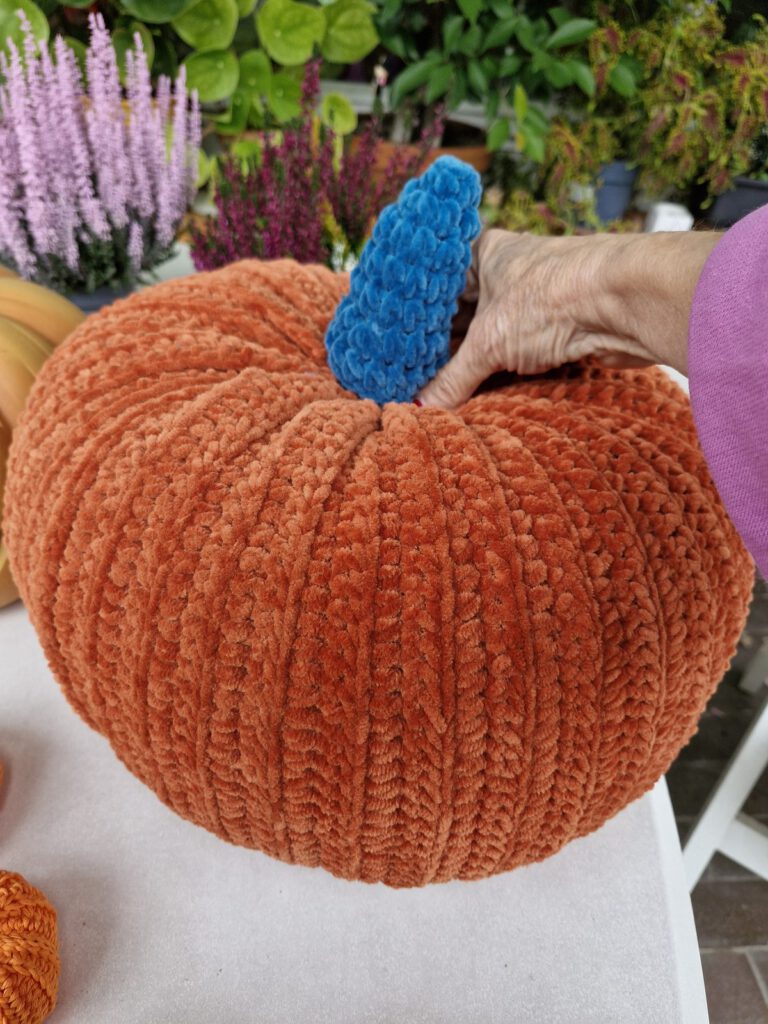
For the big pumpkins I used Hobbii Baby Snuggle, a super bulky velvet yarn, with a 6 mm hook. The soft velvet looks wonderful on a sofa or a sideboard. For the small pumpkins I used Deramores Studio Cotton DK with a 3.5 or 4 mm hook. Cotton gives you clear ribs and a neat shape.
Try your own yarns and colors – burnt orange, mustard, dusty pink or even white all look lovely.
What you need for your crochet pumpkins
• Hobbii Baby Snuggle (super bulky velvet yarn) for the big pumpkins: 4–5 balls in different colors, 7 mm hook
• Deramores Studio Cotton DK for the small pumpkins: 3 balls, 3.5 or 4 mm hook
• Polyester filling
• Tapestry needle, scissors and stitch markers Skill level: beginner. You can of course use other yarns, too – just make a rectangle first and measure it, because your yarn and your hook decide how big your pumpkin will be.
Tips for perfect crochet pumpkins
• Stuff the pumpkin firmly and evenly. Push the filling into the ribs, so your pumpkin keeps its round shape.
• Pull the yarn tail tight when you close the first end, so there is no hole left at the top.
• Always crochet in the back loop only. This gives you the even ribs that make a pumpkin look like a pumpkin.
• Use stitch markers to keep track of your rows.
• Choose a stem in a contrasting color: brown, green or even blue looks lovely on a burnt orange pumpkin. • Crochet the rectangle first and measure it. Every yarn and every crocheter is different, and the rectangle tells you how big your pumpkin will be.
Styling ideas for your crochet pumpkins
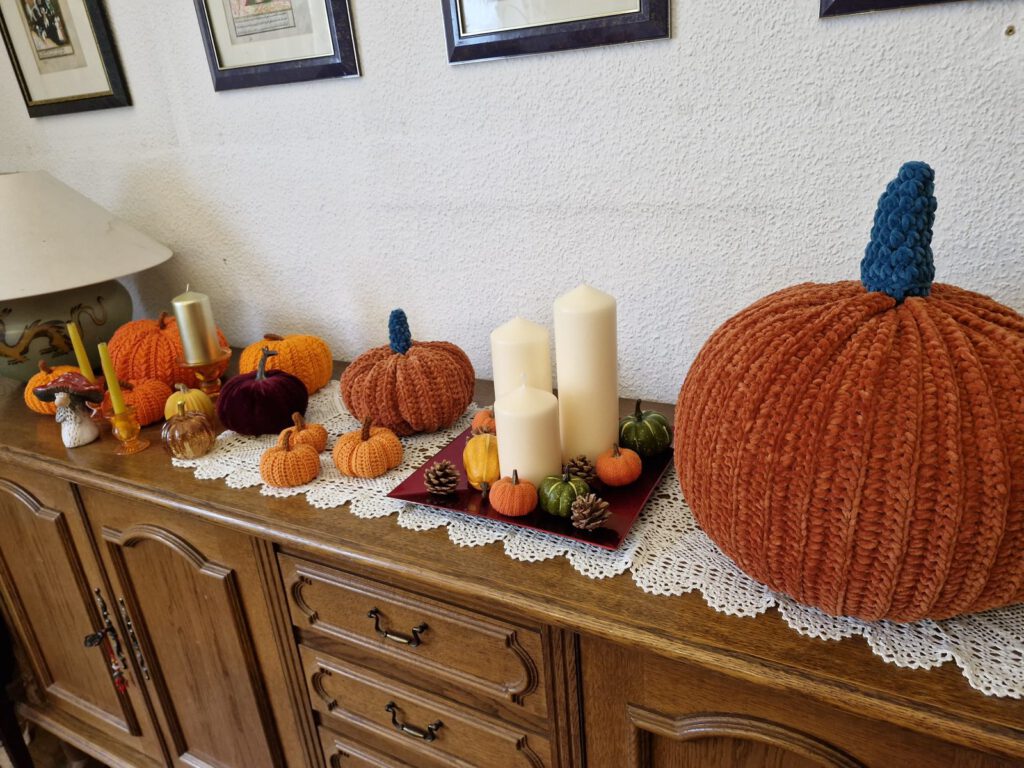
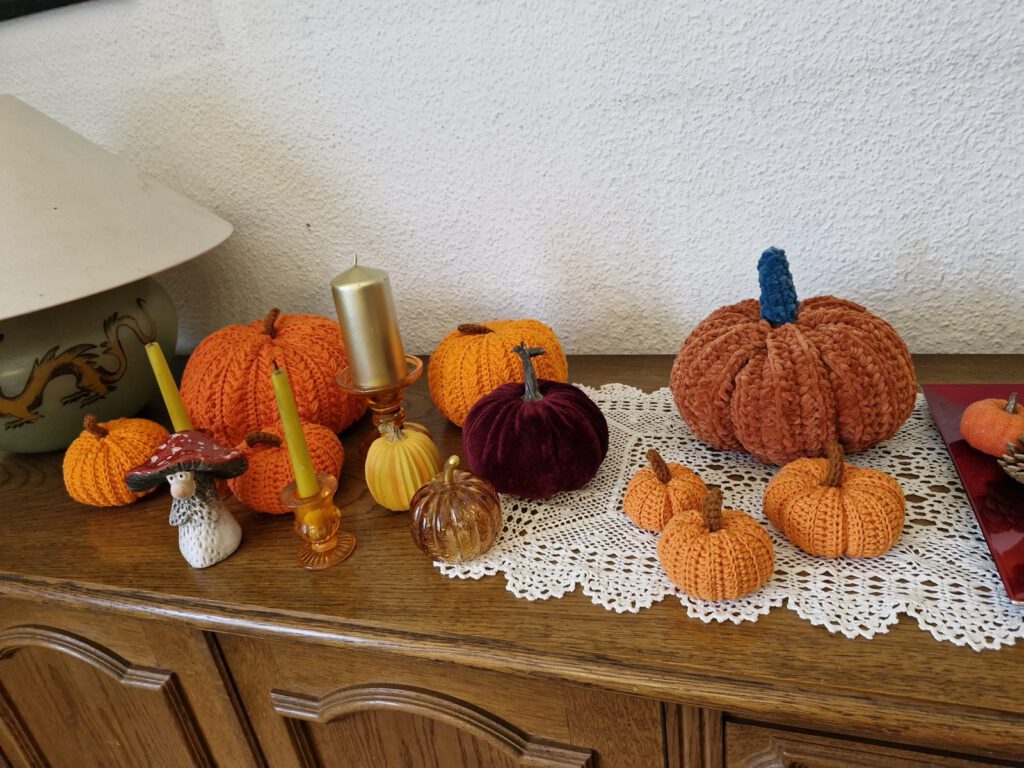
- Group three sizes on a sideboard with candles
- Put a small pumpkin on every plate of your autumn table
- Use the XL pumpkin as a cozy floor cushion next to the front door
- Hand them out as small gifts
Make your own pumpkin family
One pumpkin is cute, but a whole family of pumpkins is even better. Mix the four sizes, play with colors and choose what fits your home: classic orange, mustard, dusty pink or white. A tiny cotton pumpkin on the table, a big velvet one on the sofa, and your autumn decoration is complete. Crochet pumpkins are not only for Halloween. They stay cozy from the first cold evening in September until Thanksgiving, and they make a lovely handmade gift.
Questions about the free crochet pumpkin pattern
Is this crochet pumpkin pattern really free?
Yes. You can download the Happy Pumpkins PDF for free on Ravelry. If you prefer to buy it on Etsy, it is available there for a small fee.
Is it good for beginners?
Yes. The pumpkin is a simple rectangle in half double crochet in the back loop only, with a slip stitch seam. There is no shaping in the body.
Can I sell the finished pumpkins?
You are welcome to sell your finished items, but please give credit to WonderCrochet. Please do not copy, share or redistribute the pattern or its photos.
Is there a German version?
Yes, the pattern is written in English with US terms, and a German version is available too.
Can I use a different yarn? Yes. Crochet the rectangle first and check its size. A thicker yarn with a bigger hook gives you a bigger pumpkin, a thinner yarn a smaller one.
Get the free pattern
The Happy Pumpkins pattern is a 10-page PDF with step-by-step instructions and photos, written in US terms. It is available in English and in German (Deutsch). You can download it for free on Ravelry:
Prefer Etsy? You can also get the pattern there for a small fee: Happy Pumpkins on Etsy
I can't wait to see your pumpkins – tag @maxinewondercrochet on Instagram and use #HappyPumpkins.
Register for my newsletter here to be the first to get my newest patterns!
🎃 Happy crocheting,
These little pumpkins are absolutely adorable! 🎃 I love how something as simple as a rectangle can turn into such lovely autumn decorations. The different sizes are a wonderful idea, and that giant velvet pumpkin is definitely my favorite! I can already imagine a whole little pumpkin family decorating my home. Thank you for sharing such a cute pattern, Maxine! 🍂
my greatest pleasure, thank you!